What is msmpeng.exe file for? How to stop and disable it?
File msmpeng.exe is an important file, but if you still want to stop and disable it, we will show how.
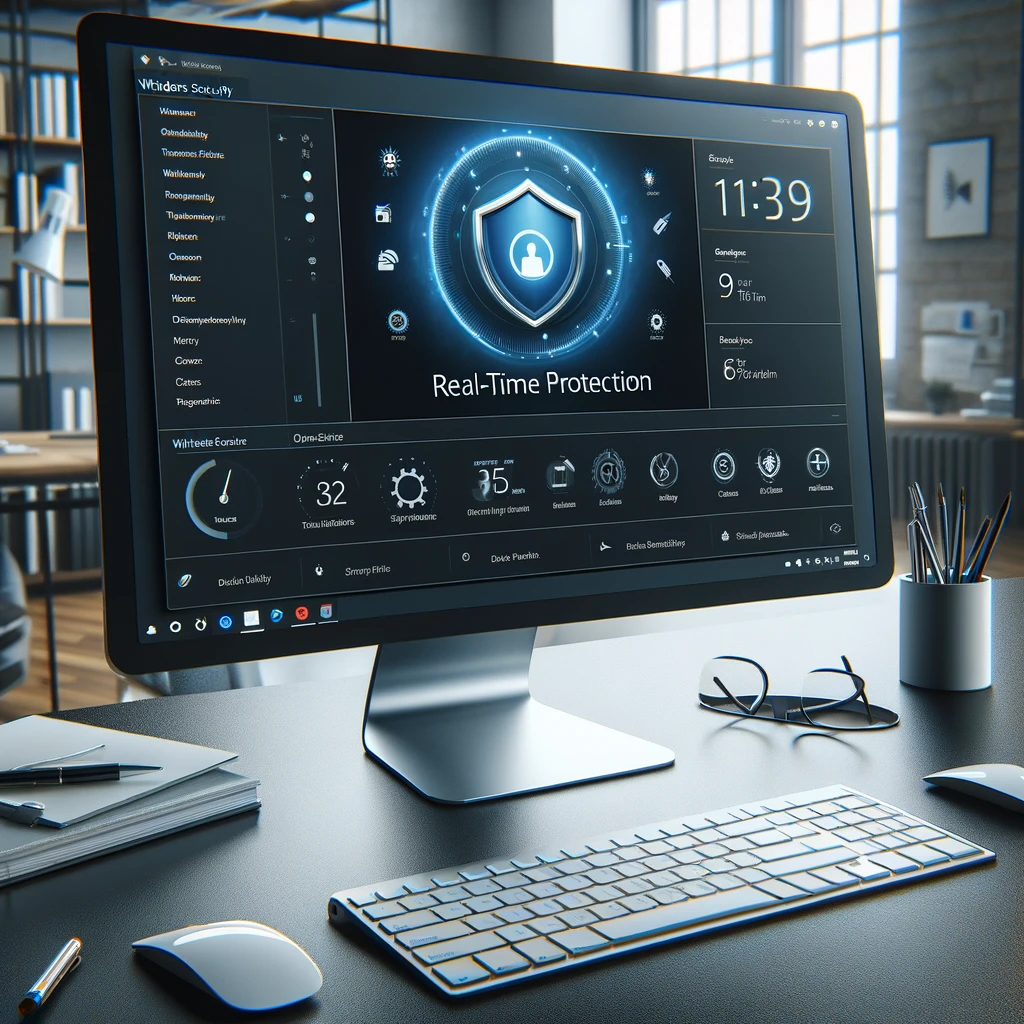
MsMpEng.exe is the executable file associated with Windows Defender, which is the built-in antivirus software in Windows. This program plays a crucial role in the Windows operating system by providing real-time protection against malware, spyware, and other security threats. It scans your computer for malicious software, monitors the behavior of installed programs, and takes action against potential threats.
Over the years, as Microsoft has updated and rebranded its security products, Windows Defender has also been known under different names, such as Microsoft Security Essentials in older versions of Windows before Windows 8. Starting with Windows 8 and continuing in Windows 10 and Windows 11, Windows Defender has been integrated more deeply into the operating system and has seen significant improvements in terms of security features and effectiveness.
MsMpEng.exe is responsible for the core functionality of this security tool, including:
- Real-time protection: Monitoring and scanning files as they are opened, created, or downloaded.
- System scanning: Performing full system scans to detect and remove malware.
- Live updates: Downloading and installing the latest malware definitions and updates for the software.
Because of its integral role in system security, MsMpEng.exe is often active and can sometimes use a noticeable amount of system resources, especially during full scans or when updating its malware definitions. If you find that it’s using more resources than desired, you might consider scheduling scans during times when the computer is not heavily used or adjusting the settings of Windows Defender to optimize performance.
How to Stop Msmpeng.exe file?
To stop and disable MsMpEng.exe, which is the core process of Windows Defender (now part of Windows Security in Windows 10 and Windows 11), you must turn off Windows Defender or Windows Security. However, it’s important to note that disabling your primary antivirus protection can make your computer more vulnerable to malware infections. Always ensure you have another antivirus solution in place before disabling Windows Defender.
For Windows 10 and Windows 11:
Temporary Disabling (Real-Time Protection):
- Open Windows Security: Click on the Start menu and select “Settings” (the gear icon). Then go to “Update & Security” > “Windows Security”.
- Virus & Threat Protection: Click on “Virus & threat protection”.
- Manage Settings: Under the “Virus & threat protection settings”, click on “Manage settings”.
- Toggle Off: Find the “Real-time protection” toggle and turn it off.
This will temporarily disable Windows Defender’s real-time scanning, but it will re-enable itself automatically after a short while or when the computer is restarted.
Permanently Disabling (Using Group Policy):
- Open Group Policy Editor: Press
Win + R, typegpedit.msc, and press Enter. - Navigate to Windows Defender Antivirus Settings: Go to “Computer Configuration” > “Administrative Templates” > “Windows Components” > “Microsoft Defender Antivirus”.
- Turn off Windows Defender Antivirus: Find and double-click on “Turn off Microsoft Defender Antivirus”.
- Disable: In the window that opens, select “Enabled” to disable the antivirus, then click “Apply” and “OK”.
Permanently Disabling (Using Registry – Caution Advised):
Caution: Modifying the registry can cause serious issues. Backup your registry before proceeding.
- Open Registry Editor: Press
Win + R, typeregedit, and press Enter. - Navigate to Windows Defender: Go to
HKEY_LOCAL_MACHINE\SOFTWARE\Policies\Microsoft\Windows Defender. - Disable Defender: If you find a DWORD value named
DisableAntiSpyware, set its value to1. If it doesn’t exist, right-click on the right pane, select “New” > “DWORD (32-bit) Value”, name itDisableAntiSpyware, and set its value to1.
After performing these steps, Windows Defender (Microsoft Defender Antivirus) will be disabled. Remember, before disabling your default antivirus, ensure you have another security program installed to keep your computer protected.
For Older Versions of Windows (Using Security Essentials):
If you’re using Microsoft Security Essentials on Windows 7 or earlier, you can disable real-time protection in the program’s “Settings” tab, but you cannot permanently disable the program without uninstalling it.
Share this content:


Post Comment